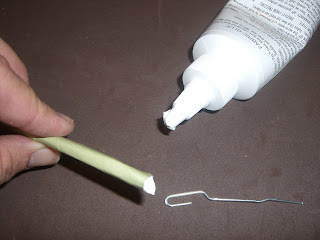
For the stem I used a piece of CS that was 12 x 1 1/2 -I crumpled it up--then flattened it back out. I used a pencil to help get the paper to roll.

After I made the first big flower I realized the stem needed some support. My first thought was I needed a thick gauge wire-but alas-I don't have that in my scrap room--but these paper clips were sitting in front of me and ah ha--an idea was born! I unfolded paper clips, glued them down the center-then just rolled up the CS and glued down the edge.

 Then to get the flower to adhere to the stem I took another paper clip--unfolded half of it--
I put a huge drop of glue down the opening of the stem and put the folded end of the paper clip in the stem--
 then I covered the strait end of the paper clip with glue
 and stuck it up through the flower-(-the point where all the petals meet).
 NEXT--to make the transition from stem to flower I punched a 2 inch scallop circle then punched a hole in the center of that
 and cut this into four pieces--
then used glue dots to stick these to the stem--overlapped them and used Liquid Glass to stick together where needed.

 I think this part of a real flower is called the sepal (?).
 So there you have it!! My first blog tutorial! Thank you Ryan for the question!
Have a great weekend everybody.

No comments:
Post a Comment